Saturday, September 5, 2009

Kelisa Upgrade - Extractor

After a long searching at internet, i finally find the used powerzone extractor for my daily car - Kelisa. She have only 1000cc capacity and run in auto gearbox.

Powerzone is a local car tunning company. Their product are mainly focus on the local car proton and perodua. According to them, this extractor is a tune length design and able to high flow the exhaust gas with minimal restriction. The design of the extractor look good too compare to the stock one.


The stock extractor look like this.


Today, i bring the kelisa and get the extractor installed. It look like this in the engine bay :) Little mod need to done on the O2 sensor wire because it was too short.


Before change the extractor.

Thursday, August 6, 2009

3" FGK fujitsubo giken exhaust


New toy for my car. This time is a muffler that come from FGK. It measure 3" for the inlet and it straight flow. Compare to currently i have on my car is from Tanabe medalion and it also measure 3" for the inlet but it have a S flow design.


Although the FGK muffler come with straight flow design, it had a JASMA tag on it. JASMA stand for Japanese Automotive Sports Muffler Association is the governing body responsible for exhaust systems. The member are form by the tuning company like HKS, APEXI, FGK...etc. The majority of the tuning firms are members and the JASMA plate on the exhaust systems means if conforms to their standards, in terms of noise level, usage, and construction. What i care more on the JASMA tag is because its working noise is under japan legal decibel limits meaning not noisy :) Cant wait to have it install on my ride.

Monday, July 13, 2009

Tufoil into my B8

Tufoil an engine treatment from US company Fluoramics. It claims that it will help the engine
  • last longer
  • run cooler
  • start easier
  • run smoother
  • save fuel
  • produce more power
Personally i been using it since my first mazda lantis, then follow by my current B8 and also my daily drive kelisa. I do notice the engine actually run much smoother and more quiet. It cost ~RM60 and actually it quit expensive :P
for more information about the product, u can refer it from http://www.tufoil.com/

Sunday, June 28, 2009

Direct power for fuel pump

When the car getting old, the wiring in the engine are being oxidize and the voltage will drop from time to time. Another factor that will cause this drop of voltage is the heat. This is quite obvious for the turbocharge engine because it produce a lot of heat in the engine bay.

Before i decide to pull a direct power from battery to my fuel pump, i did some checking on the voltage that supply to my fuel pump. The BPT/GTX is equiped with a 2 stages relay+resistor for the fuel pump. It will suppply low voltage when the ignition key at ON and ~12v after the engine start. On the stock setup, my fuel pump was getting ~11v after engine is start. This is somehow a bit low from the manual. The worst case is when i pull out the wire on the stock relay+resistor, the fuel pump is still working, by right it should be no more power to it. This mean that during the conversion, the mech was not using the power from the stock relay+resistor and simply get from other source.


Parts that needed for this work:
1. wires 5-6meter depending to ur wire route
2. automotive relay (i get bosch 0332-019-150) any 30A relay is working fine
3. 30A fius
4. sumitube
5. crimb


The idea on this is let the fuel pump get a direct power from the battery, meaning it will get ~13v all the time. And for safely purpose, the fuel pump should stop and the key turn to off. For this to work, this is why we need a relay. The trigger for the relay to allow the power from the battery to fuel pump will be the existing powersource to the fuel pump. The wire diagram i get from Jeff Lucius at http://www.stealth316.com/2-fuelpump-rewire.htm Anyone own a Stealth 316 should refer this site. It provide a lot of information.

First is to do the terminal connect to the battery and also the crimb to that hold the fuse. I use sumitube to cover the join to avoid it to expose dust, water...etc


I pull this wire under the carpet and go to the rear seat. This wire is connecting to the battery +terminal and 30A fius. It later going to connect to the pin 87 on the relay.


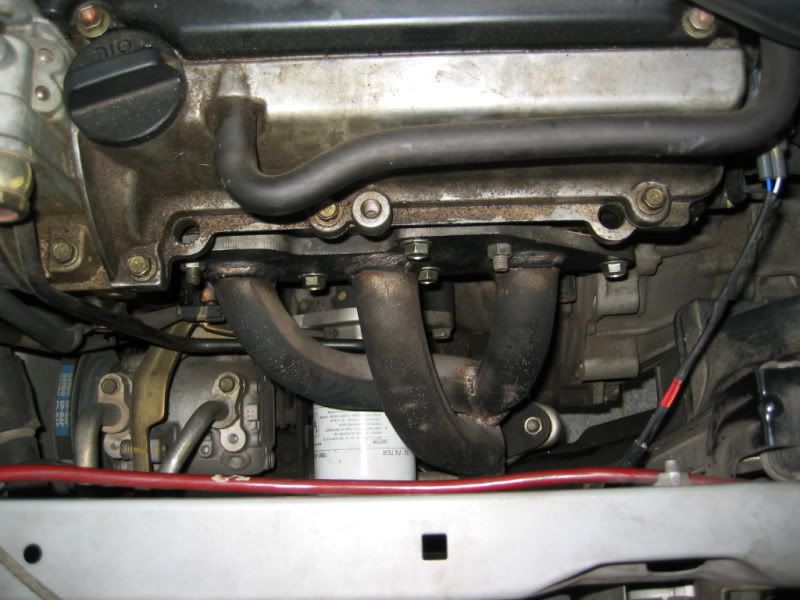
Next is to identify the wire that power the fuel pump. Normally there are few wires there for the fuel pump and fuel level gauge. Please refer to ur car wiring manual to identify it. Another way to do this if u do not have the wiring diagram is take out the fuel pump and identify which wires it connect to the pump :) But be careful when removing the fuel hose.
After identify it, cut the wire and connect a crimb on it. Make sure it long enough to the relay else wire extention will be needed like my case.


The wire that being cut into 2 will be then connect to the relay as well. For the one go into the fuel pump, it will connect to pin 30 and the other one will be connect to pin 86. For the ground, it can connect to body of the car and pin 85.

Once all connections is plug in, is time to check the relay is working fine. If u have a voltmeter, u can check the voltage on the cable that connect on the pin87, you will always get the same reading on the battery ~11v before car start and ~13 after car start. Other pin should be always 0v before u tun the key to ON.

To make sure the relay is wokring, turn ur key to ON and you should hear the fuel pump is running. Turn the key to OFF and the fuel pump should stop as well :) Now start your car and you can measure the voltage, u will get constantly ~12-13v to the fuel pump. Next is to use the black tape to cover the connection on the pin. This is to avoid the wires being accidentaly pull off. Now u can take ur car out for few run, then check the wires and also the relay. It should not run too hot.


Pros:
1. Fuel pump getting higher voltage thus provide higher flow.
2. Cheaper solotion compare to replace the stock relay+resistor. Sometime this spare might not even exist in the local spare part shop due to the car is not sold locally or lower demand or end of sales.

Cons:
The lifespan of the fuel pump might reduce due to it work hard all the time. But this is very subjective topic because some newer car model also does not come with 2 stages fuelpump relay.

Monday, September 22, 2008

Sard Adjustable Fuel Regulator

Since the KFZE fuel pump being suspect having problem due to low fuel pressue, i decide to change the fuel pump to Nissan SR20 turbo fuel pump. This fuel pump was able to support the stock SR20 that is rated around 240 horse power. So i belive it will be enough for my BPT as well with a little up boost.

To overcome the high pressure from the fuel pump, i getting myself a Sard Fuel Regulator to regulate the fuel pressure. This item also in my waiting list for quit some time ago. Finally it make it way to my car engine bay now. The gauge was an oil filled type, this able to stable the meter reading when the engine is turn on.
Due to the compact engine bay at Mazda Lantis 323F, fitting this FPR is quite difficult. I need to custom made a bracket to hold the FPR.

How my engine bay look like after the Sard FPR installation is done :)


Saturday, June 21, 2008

NGK plug cables


Finally decide to change my original plug cables that is from the halfcut when the x-owner convert the engine. I also do some checking on the old plug cables by using the multimeter i bought from http://www.lelong.com.my/. The way i check the cables just measure the resistance of the cable and compare the reference value from my BPT service manual. The 5th cable that connect between the coil and distributor was totally out of spec...that is one of the main reason i decide to change my cables.
Thanks to my friend kk, i get this cables from him with a very attractive price. Although is used but the condition is still very good. Again i check the cables with my multimeter again...not bad, all cable with relatively low ohm :) the most impressive is the 5th cable that is quite long but also maintain very low ohm as claim by NGK.

After the checking is done, the cables now sit nicely in my lantis engine bay now. Installation is straight forward as long as u not mix up the possition.

The first noticeable change is the engine become smoother than before. Hope this cable really will eliminate my jerking problem. :)

Saturday, June 7, 2008

DIY Grounding Wire

Since the cars at my house are quite old already, for sure the grounding wires on the car are worn out due to the cheap material being use, heat and etc... So i decide to DIY some new grounding cable for it and also add some blink2 staff to the engine bay.

First is to get the wire that suitable. i opt for cable that use to power the amplifier. These type of cable normal has very low resistance and can withstand heat very well. This is crucial as these wires will put in the engine bay and of cos it will be very hot. So bad when i get from the shop, the available color only red.


Next is cut the wire with the correct length u need and insert the connector to it.


To make it better, i solder the connection between the connector and wire. It give me felt like this will work better :P My soldering skill is not that good :(


After that, cover the connection with sumitube. It give the feeling that the ground wire is branded one :)


To make sure the connections is good, i use multimeter to measure the resistance of the cable. Set it to 200 ohm as the reading will be very small. The result was very satisfying :)


So far i had do around 13 grounding wires and 2 into my lantis, 5 to my daily drive Kelisa and 6 to my sister'2 Satria.

Kelisa

Before


After

Satria 1.3


This one still not yet done becuase out of cables already....